Custom node types
Build your own node — its ports, its config, and the logic it runs — and it sits in the palette next to the built-ins.
The built-in nodes cover the steps most workflows need, but sometimes you want one specific to your product — a node that calls your API, reads your database, or sends an email. A custom node type is yours to define: its ports, its config, and the logic that runs when it executes. It sits in the palette right next to the built-ins.
A custom node is two pieces that share a name:
- a definition — what it looks like in the editor (ports, config, label, icon)
- a handler — what it does at run time
That mirrors the editor and the runtime: one draws the node, the other runs it.
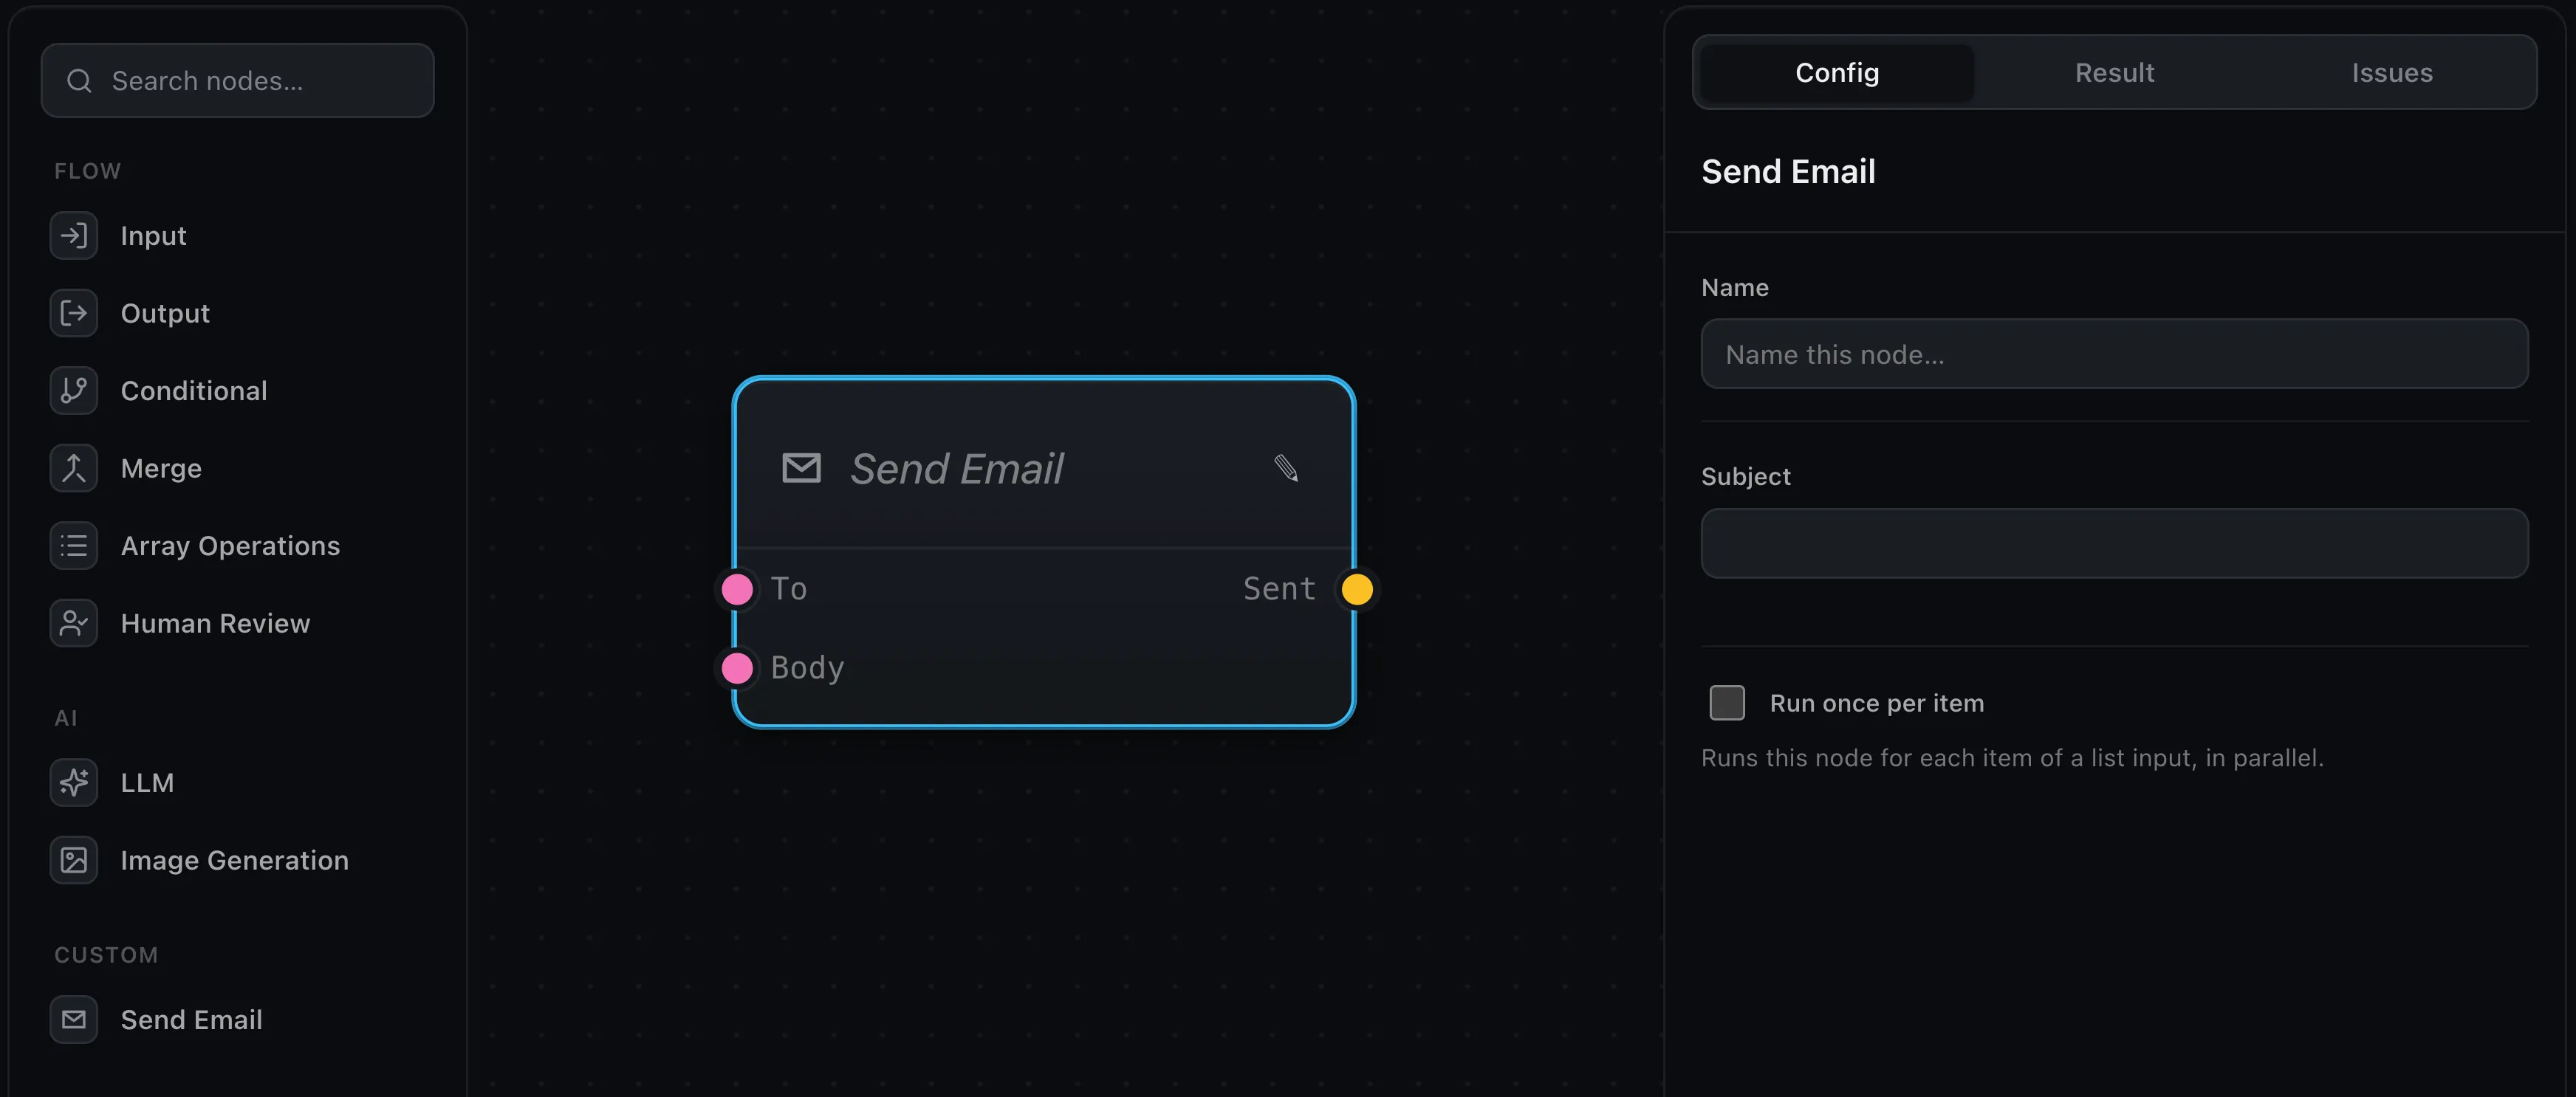
Define the node
A node type declares its ports and its config fields. Reach for a
NodeTypeDefinition (from wayflow):
const sendEmail: NodeTypeDefinition = {
  label: 'Send Email',
  category: 'Custom',
  icon: 'mail',
  ports: {
    inputs: [
      { id: 'to', dataType: 'string', label: 'To' },
      { id: 'body', dataType: 'string', label: 'Body' },
    ],
    outputs: [{ id: 'sent', dataType: 'boolean', label: 'Sent' }],
  },
  configSchema: {
    subject: { type: 'text', label: 'Subject' },
  },
}
Ports are the wires in and out; configSchema is the fields shown in the config panel.
Add it to the editor
Register the type and it appears in the palette. Spread BUILTIN_NODE_TYPES
(from wayflow) to keep the built-ins and add yours alongside them:
const editor = createWorkflowEditor(element, {
  nodeTypes: { ...BUILTIN_NODE_TYPES, sendEmail },
})
nodeTypes is the full set of types the editor offers — so leaving a built-in
out of the spread is how you exclude it, handy for a focused editor with only the
nodes you want.
Make it run
The definition gives the node its shape; the handler gives it behavior. Register one under the same key in the runtime — it receives the node’s config and its wired inputs, and returns a value for each output port:
const runtime = createRuntime({
  handlers: {
    sendEmail: async (node, inputs) => {
      await sendMail({
        to: inputs.to,
        body: inputs.body,
        subject: node.data.subject,
      })
      return { sent: true }
    },
  },
})inputs— the values wired into the input ports, keyed by port id.node.data— the values set in the config panel.- return — an object keyed by output port id.
That’s a working node. It runs wherever your runtime runs — in the browser or on your server — like any built-in.
Give it an icon
The node’s icon: 'mail' names a glyph. Register that name under the editor’s
icons option, with the inner paths of a 24×24 icon (the frame and
stroke: currentColor are supplied):
createWorkflowEditor(element, {
  // ...node types, etc.
  icons: {
    mail: '<path d="M4 6h16v12H4z"/><path d="m4 7 8 6 8-6"/>',
  },
})
Draw custom content
By default a node shows a preview of its config. For richer nodes, nodeRenderers
lets you draw your own content inside it — a live field, or a preview that updates
as the run streams in. Each renderer gets the node’s container and data:
createWorkflowEditor(element, {
  // ...node types, etc.
  nodeRenderers: {
    sendEmail: (container, { node }) => {
      const line = document.createElement('div')
      line.textContent = String(node.data.subject ?? 'No subject')
      container.append(line)
    },
  },
})
A full example
The custom-nodes example builds an HTTP Request node end to end — a method badge, a URL field that stays synced with the config panel, and a custom icon. A good template to copy from.
Where next
- Node library — the built-ins your node sits beside
- Running on a server — where custom handlers run in production
- Tools — sometimes a function the LLM calls is a better fit than a node